If your chainsaw chain is stretched, you can fix it by following these steps:
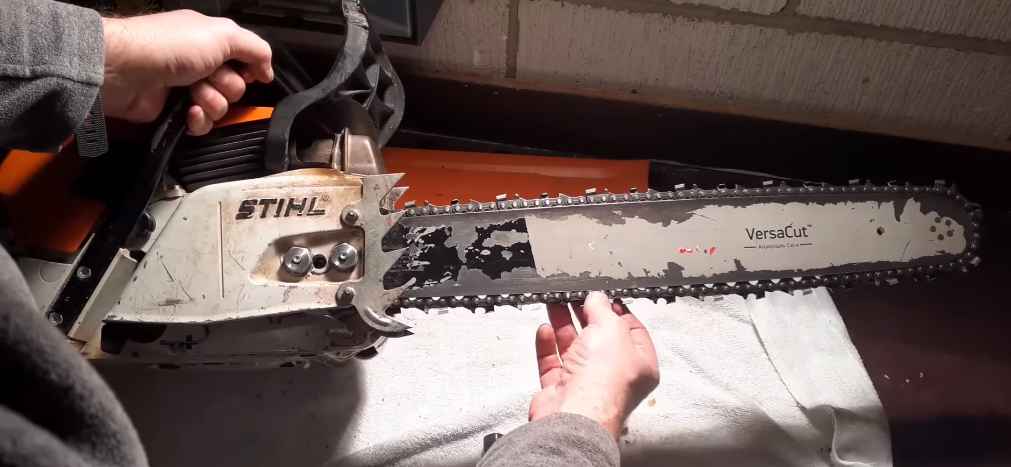
1. Use a ruler or tape measure to determine how much the chain has stretched.
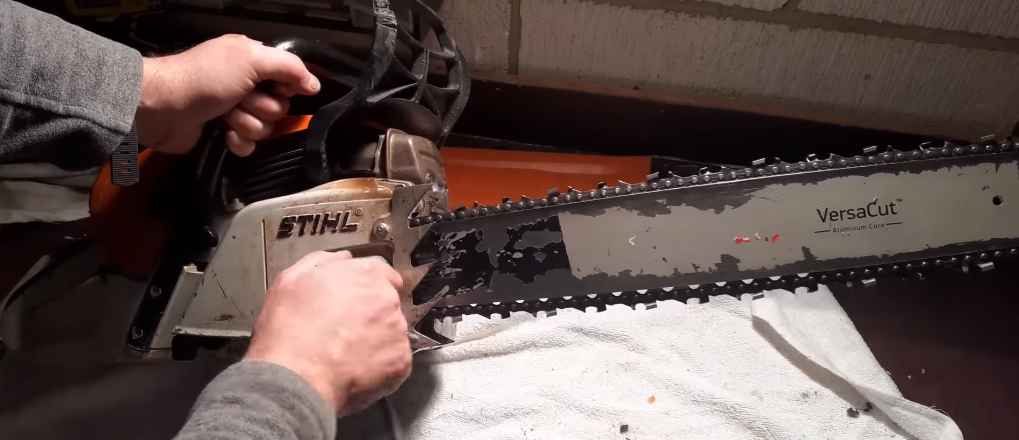
2. Find the adjustment bar on your chainsaw and loosen the tensioning screw until the bar moves easily.
3. Move the adjustment bar to take up the slack in the chain.
4. Tighten the tensioning screw so that the bar is secure but still able to move slightly.
- Check the tension of your chainsaw chain before beginning any work
- The chain should be tight, but not too tight
- If the chain is too loose, it will need to be tightened
- To do this, turn the adjustment screw on the side of the chainsaw clockwise until the chain is tight
- If the chain is too tight, it will need to be loosened
- To do this, turn the adjustment screw on the side of the chainsaw counterclockwise until the chain is loose
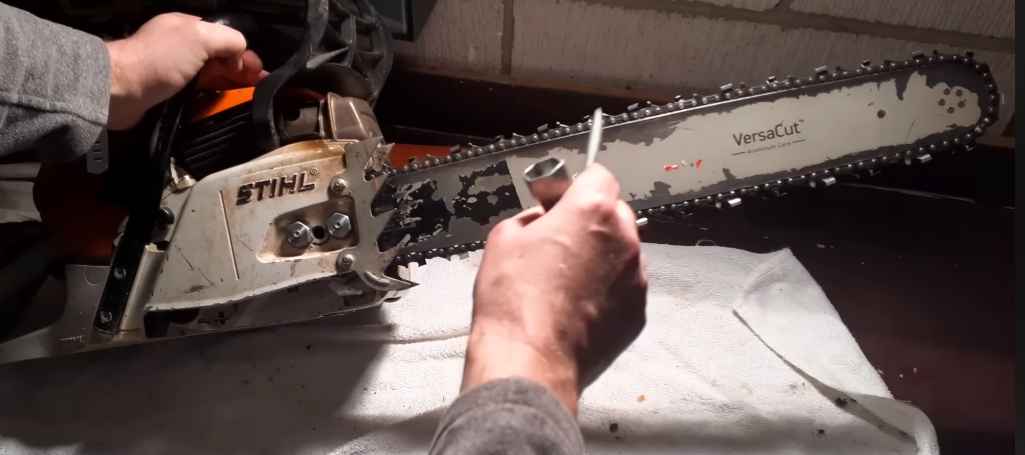
- Once the correct tension has been achieved, use a file or sharpening stone to sharpen any dull teeth on the chain.
Can You Remove a Link from a Stretched Chainsaw Chain?
There are a few ways to remove a link from a stretched chainsaw chain. The first is to use pliers or a wrench to remove the rivet that holds the link in place. This can be difficult, and you may need to file down the rivet head to get it out.
Once the rivet is removed, the link can be slid out of place. Another method is to use a chain breaker tool. This tool pushes out the pin that holds the link in place, making it much easier to remove the link.
However, this method requires that you have access to the other side of the chain and a way to hold onto the loose end of the chain while you break it. The last method is similar to using a chain breaker tool, but instead of pushing out the pin, you push it back in. This can be done with pliers or a punch and hammer.
Be careful not to damage the links around it when doing this, though! Once the pin is pushed back in far enough, it will release and allow you to pull out the link.
What Causes a Chain to Stretch?
A chain can stretch for a number of reasons. The most common reason is wear and tear. As a chain is used, the links rub against each other and slowly start to deform.
This causes the overall length of the chain to increase slightly. Another common cause of chain stretching is incorrect tension. If a chain is too loose, it will sag and deform more easily under load.
This will also cause an increase in overall length. Finally, some chains are made from inferior materials that are more prone to stretching. Regardless of the cause, a stretched chain will eventually need to be replaced.
How Do You Tighten a Loose Chain on a Chainsaw?
If your chainsaw’s chain is loose, it can cause the saw to kick back. This can be extremely dangerous, so keeping the chain tight is important. You can tighten a loose chain by following these steps:
1. Loosen the chainsaw’s bar clamping bolts with a wrench or socket set.
2. Place the chainsaw on a level surface and hold down the front handlebar with one hand while you use your other hand to rotate the rear handle counterclockwise. This will tension the chain.
3. Tighten the bar clamping bolts securely with a wrench or socket set once you’ve achieved the desired tension in the chain. Be sure not to overtighten, as this could damage the saw’s components.
Why is My Chain on My Chainsaw Loose?
Your chainsaw chain is designed to be slightly loose on the bar. This is because as the chain heats up from use, it will expand slightly and needs the extra room to do so. If your chain is too tight, it can cause premature wear or even breakage.
If you notice that your chain is becoming increasingly loose, it’s important to take action to fix the problem. The first thing you should do is check the tensioner. The tensioner is what keeps the proper amount of slack in the chain.
If it’s not working correctly, it could be causing your chain to loosen. Next, check the bar itself. If the bar has any damage or wear, this could also be contributing to a loose chain.
A damaged or worn bar can cause the sprocket to loosen, which then causes the entire chainsaw assembly to loosen over time. Finally, make sure that all of the hardware on your chainsaw (bar nuts, bolts, etc.) is tightened properly. Loose hardware can also lead to a slackened chainsaw assembly.
If you’re still having trouble keeping your chainsaw tight, take it to a professional for servicing.
Chainsaw Chain Stretch. It’s real and this is how you can minimize it.
Chainsaw Chain Won’T Tighten Anymore
If your chainsaw chain won’t tighten anymore, it’s likely due to one of two issues. Either the bar is worn out and needs to be replaced, or the sprocket is damaged and needs to be repaired or replaced. In either case, it’s best to consult a professional for help to avoid further damage to your chainsaw.
How to Shorten Chainsaw Chain Without Tool
If you find yourself needing to shorten your chainsaw chain without a tool, there are a few methods you can try. The first is to use a pair of pliers. Simply grip the end link of the chain with the pliers and twist until it breaks off.
Another method is to use a rock or piece of concrete. Place the end link of the chain on the rock and hit it with another rock or piece of concrete until it breaks off. Once you have shortened the chain, you must reconnect the two ends using a coupling link.
This can be done by threading one end through the other and then connecting the two loops with a small piece of metal wire.
How to Shorten a Chainsaw Chain
If you’re a chainsaw user, you know that one of the most important maintenance tasks is keeping the chain sharp. A dull chain not only makes it difficult to cut through wood, but can also be dangerous. So how do you keep your chainsaw chain in top condition?
One way is to shorten it when it gets too long. Here’s a step-by-step guide on shortening a chainsaw chain:
1. First, ensure that the saw is turned off and unplugged. Then, remove the bar and chain from the saw.
2. Next, find the link that you need to remove to shorten the chain. This will be different depending on the type of saw and your chain brand. Consult your saw’s manual for specific instructions.
3. Once you’ve located the correct link, use a punch or other sharp object to drive out the pin holding it in place. Be careful not to damage the other links in the process.
4. Now remove the desired number of links from the chain (again, consult your manual for guidance on how many). If necessary, use a file or grinder to even out any rough edges on the new end of the chain.
5 . Finally, reattach the bar and chain to your saw and get back to work!
Chainsaw Chain Joining Links
You may not think much about the chain on your chainsaw, but it’s an important part of the saw and needs to be maintained. The chain is made up of a series of metal links that are connected with rivets. Over time, these rivets can become worn or damaged and must be replaced.
Chainsaw chains typically come with joining links that allow you to replace a damaged link easily. These joining links have a special head that fits snugly into the corresponding slot on the next link. To install a new joining link, remove the old one and insert the new one.
Then use a hammer to tap the head of the new link until it’s flush with the surface of the other links. If your chainsaw chain is starting to look worn or damaged, don’t wait to replace it. A new chain will help keep your saw running smoothly and safely.
Chainsaw Chain Shortening Tool
Chainsaw chains come in a variety of sizes, lengths, and pitches. The most common metric used to measure a chainsaw chain is the pitch. The pitch is the distance between any three consecutive rivets divided by two.
For example, if you have a chainsaw chain with a 3/8-inch pitch, the distance between any three consecutive rivets is 3/8 inches. Chainsaws typically use either a 3/8-inch or .325-inch pitch chain.
The other important measurement is the gauge, which is the width of the drive link where it fits into the bar groove.
The most common gauges are 0.050 inches (1.3 mm) and 0.043 inches (1.1 mm). If your saw came with a 3/8″ Pitch – .050″ Gauge chain installed, then you would want to purchase a replacement 3/8″ Pitch – .050″ Gauge chain as well.
Shortening your own saw chain can save you money compared to taking it to a professional every time it needs to be shortened. Still, it’s important to do it safely and correctly in order to avoid damaging your saw or injuring yourself.
There are two main ways to shorten your chainsaw chain: with a power tool or by hand filing each individual cutter down to size. Using an electric grinder or angle sander will be much faster than filing each cutter down individually by hand.
However, these tools can create heat buildup, damaging your cutting edges if not done carefully enough.
If you’re going to use an electric tool, make sure you have good ventilation and go slowly so that you don’t overheat your cutters.
Filing each cutter down individually by hand is much slower than using an electric tool; however, this method will not generate any heat buildup so there’s less risk of damaging your cutting edges.
You’ll need a round file that’s slightly smaller than the gullet (the space between cutters) on your particular saw chain and a flat file for setting depth gauges (more on that later).
Start by filing all of the outside cutters on one side of the links until they’re flush with those on the opposite side; then move onto the inside cutters and repeat until all of them are filed down evenly across both sides of links.
Chainsaw Chain Joining Tool
If you’re a chainsaw user, you know that the chain is one of the most important parts of the saw. The chain does all the work, so keeping it in good condition is important. One way to do that is to use a joining tool to connect two pieces of chain together.
A joining tool is a small, handheld device that allows you to quickly and easily join two pieces of chains together. It’s a simple process. Place the two ends of the chain into the tool and squeeze the handles together. The tool’s jaws will close around the links and hold them tight while you weld them together.
There are many different types of joining tools on the market, but they all serve the same purpose: to make it easy to extend the life of your chainsaw by replacing worn or damaged sections with new ones.
When choosing a joining tool, look for one that is durable and easy to use. And be sure to read the instructions carefully before use!
How to Assemble Chainsaw Chain
If you’re new to chainsaws, the prospect of putting together your own chain may seem daunting. But don’t worry – it’s actually quite simple! Here’s a step-by-step guide on how to assemble chainsaw chain.
1. Start by threading the drive link onto the bar. The drive link is the large, teeth-bearing link at one end of the chain.
2. Next, thread on the first full complement of cutter links. A full complement consists of two outer links and one inner link.
3. Continue adding full complements of cutter links until you reach the desired length for your saw chain. Remember to leave enough room at the end of the bar for the nose sprocket!
4. Once you’ve reached the desired length, it’s time to add the last few pieces – two tie straps and one joining link (also called a master link).
First, thread a tie strap through each outermost cutter link, then Join them with the joining link before tightening everything down with pliers. And that’s it – your chainsaw chain is now ready to use!
How to Find the Master Link on a Chainsaw
If you’re a chainsaw user, then you know that finding the master link can be a real pain. The master link is the small metal ring that connects the two ends of the chain together. It’s important to find this link because it’s what keeps your chainsaw running smoothly.
Here are a few tips on how to find the master link on a chainsaw:
1. First, make sure that your saw is turned off and the chain is not moving. This will help you avoid any accidents while you’re searching for the master link.
2. Take a look at both ends of the chain to see if there’s a visible gap between the links. If there is, then chances are good that there’s a master link somewhere in that area.
3. Use your fingers to feel around for the small metal ring. It can be tricky to find, but it’s definitely there!
4. Once you’ve found the master link, gently remove it from the chain. Be careful not to lose it; you’ll need to put it back on when you’re done using your saw.
Conclusion
If your chainsaw chain is stretched, there are a few things you can do to fix it. First, check the owner’s manual to see if there are any specific instructions for your model of chainsaw. If not, you can try one of the following methods:
1. Use a chainsaw file to sharpen the teeth on the chain. This will help the chain cut more effectively and may also help it stay tight on the bar.
2. Adjust the tension on the chain. This can be done by loosening or tightening the nuts holding the bar and chain.
3. Replace the chain entirely. This is usually only necessary if it is severely damaged or worn out.